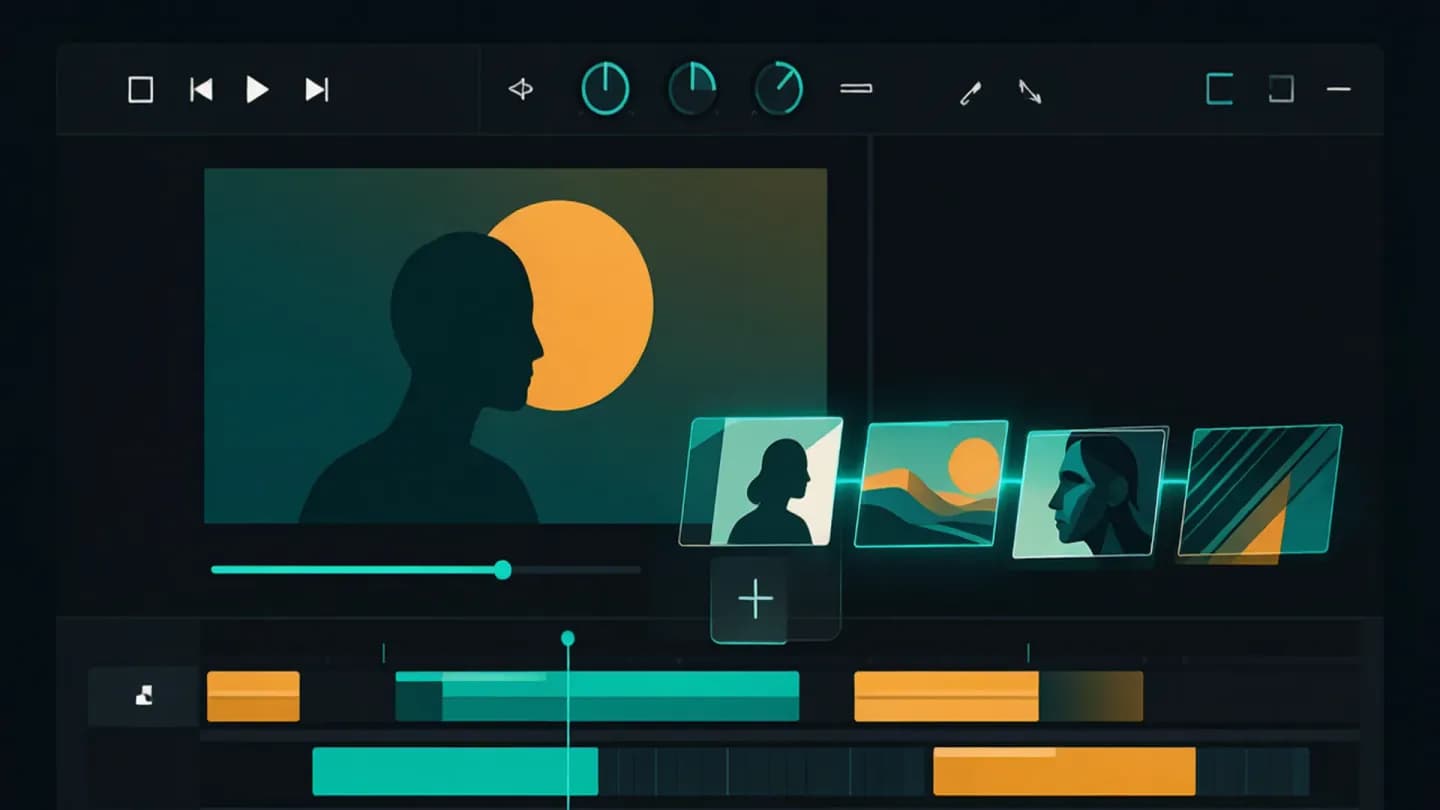
Why Editing AI-Generated Video Is a Different Job
Editing AI-generated video is not the same craft as cutting a shoot. On a live set you come home with coverage: a master, a two-shot, singles, cutaways and enough handles to solve almost any timing problem. A generative pipeline hands you something else entirely, a folder of short clips that were each invented in isolation. Google's Veo 3.1 documentation puts a single generation at four, six or eight seconds at 24 frames per second, which means a thirty-second spot is always an assembly job and never a single take.
That structural difference is what catches out editors on their first generative project. Two clips built from near-identical prompts will still disagree about skin tone, lens character, background dressing and where the key light sits. There is no continuity supervisor, no script notes and no slate. Every cut you make is an argument that two unrelated pieces of footage belong in the same room, and the viewer decides in roughly half a second whether they accept it.
The answer is not more generation. It is treating the edit as a design stage with its own rules rather than as the place where you tidy up whatever the model produced. Teams that plan longer takes upstream using shot planning built for long generated takes give the edit fewer seams to hide, but the timeline is still where a batch of clips becomes a film.

Build a Clip Ledger Before You Open the Timeline
Before a single clip lands on the timeline, log it. A clip ledger is a flat sheet with one row per generation: file name, model and version, the prompt, the seed or reference images used, duration, the shot it is meant to serve, and a one-word verdict of hero, backup or dead. It costs about fifteen seconds per clip and repays that many times over, because the question of which prompt produced the one good take arrives on every project and has no answer without notes.
The ledger also forces honest selection. Generation is cheap enough that a team accumulates forty clips for a six-shot spot and then chooses by whichever one they saw most recently. Screen the batch once with the sound off, mark a hero and a backup for every shot in the board, and keep the rejects rather than deleting them. Backups matter because generated footage fails late: an artefact nobody noticed in a small preview window becomes unmissable on a fifty-five inch screen at the client review. Selecting with the sound off also stops a convincing generated soundtrack from flattering a shot whose picture will not survive the grade.
Identity deserves its own column. When a face, a mascot or a packshot appears in more than one shot, record exactly which reference images produced it, because regenerating a matching clip three days later is only possible if you can reproduce the inputs. A disciplined reference-first consistency workflow keeps that column to a few file paths instead of turning it into an archaeology project.
Cut for Continuity You Never Shot
The core technique is simple: cut on motion, and cut away from the middle. Generated clips are usually strongest in their central two or three seconds. The opening frames are still settling and the closing frames drift as the model runs out of intent, so trim hard into the core and the drift never reaches the audience. Treating a clip as raw stock with unusable heads and tails is closer to the truth than treating it as a finished shot.
Continuity errors between clips are hidden rather than solved. A whip pan, a speed ramp, a hard sound effect, a single flash frame or a cutaway to a product detail all buy you a new visual premise and reset the viewer's memory of the previous frame. Match action across a cut only when both clips genuinely share a gesture. Otherwise use a graphic match, carrying a shape, a colour block or a direction of travel across the join, which reads as deliberate craft even when nothing physically continues.
Hold rules help as well. Avoid resting on a generated face for much longer than two seconds, because that is roughly where morphing and micro-expression errors start to register. Keep hands, text and reflective surfaces in motion or out of focus. Some problems, though, belong upstream of the cut rather than being edited around, and a pass of targeted artefact repair in post before you lock picture will stop you designing a sequence purely to avoid damage a plugin could have removed.

Treat Generated Audio as a Scratch Track
Current models emit sound along with the picture, and that sound is a scratch track, not a mix. It is welded to the clip, it cannot be soloed, and it changes character at every cut because each generation invented its own room tone. The professional move is to strip it out, keep it muted underneath as a timing reference, and rebuild the bed from separate elements: one music stem, one designed effects layer and one clean voice track that runs uninterrupted across the whole spot.
Rebuilding also fixes the level problem before a platform does it for you. EBU R 128 specifies that Programme Loudness Level shall be normalised to a target level of minus 23.0 LUFS, and a commercial that arrives several loudness units hot simply gets turned down on playback, usually flattening the exact dynamic moment the mix was designed around. Measure the integrated loudness of the finished mix rather than trusting a meter reading taken mid-timeline.
None of this means discarding what the model produced. Where a generated element is genuinely useful, a footstep, a room ambience, a specific mechanical noise, lift it as an element and place it deliberately instead of inheriting the whole bed. Knowing what natively generated model audio can and cannot deliver is the difference between a usable stem and a muddy one that fights your music.
Match the Look Across Generations
Colour is where an assembly gives itself away. Two clips from the same prompt family will differ in exposure, contrast curve and white balance by more than any two takes from a single camera would, and the eye reads that inconsistency as cheapness long before it identifies the cause. Choose a hero frame from the strongest clip, build the grade there, and then match every other shot to that reference rather than grading each one to look good in isolation.
Work in a fixed order: exposure first, then white balance, then contrast, then saturation, and only then apply the shared look on top. A workable tolerance is that no two adjacent shots should differ by more than about a third of a stop in perceived brightness or a visible step in skin tone. Where a clip refuses to match, it is usually cheaper to shorten it and cut around the mismatch than to keep pushing a grade that starts to fall apart in the shadows. Judge every match on a calibrated display at full size, because mismatches that are invisible in a small viewer are the first thing a client notices in a screening room.
Supers and captions are decided at this stage, not at delivery. Grading changes what text remains readable, and a title that was legible over the ungraded plate can disappear once the shot is warmed up and lifted. Place type against a scrim, a solid plate or a deliberately darkened region of frame rather than hoping the underlying shot stays cooperative for the full duration of the caption.

Lock the Master, Then Version Out
Finish once, at the highest quality the pipeline supports, and treat every platform cut as a rendition derived from that master rather than a separate export from the timeline. For distribution, YouTube's recommended upload settings specify an MP4 container with H.264 video and AAC-LC, Opus or Eclipsa Audio, so encode to that from the finished master instead of re-rendering the project each time somebody asks for another aspect ratio. Re-rendering the timeline per platform is how a caption fix or a grade tweak ends up living in one version and not the others, and that divergence is almost impossible to audit once a campaign is live.
Provenance travels badly through that step, and teams are routinely surprised by it. The C2PA specification defines a hard binding as a cryptographic hash that can match only the original asset, and explicitly not assets derived from it or renditions produced from it, which means every re-encode, crop and resize silently breaks the seal. If content credentials or AI disclosure matter to the client, attach them at the master and re-sign each rendition rather than assuming the metadata survives transcoding.
Finally, review every version, not just the one you graded. Aspect-ratio crops move logos out of safe zones, loudness shifts when a mix is re-encoded, and burned-in captions can collide with platform interface elements that were never visible in your edit suite. Running the five pre-delivery QC gates across each deliverable rather than only the master is the cheapest insurance in the entire pipeline, and it is the difference between shipping a campaign and recalling one.
Put the framework into production
These related pages connect the article’s planning advice to a specific commercial scope.
References
- Veo 3.1 model documentationGoogle Cloud
Veo 3.1 generates video lengths of 4, 6 or 8 seconds at 24 FPS, with supported aspect ratios of 9:16 and 16:9.
- YouTube recommended upload encoding settingsYouTube Help
YouTube's recommended upload encoding settings specify an MP4 container with H.264 video and AAC-LC, Opus or Eclipsa Audio.
- R 128: Loudness normalisation and permitted maximum level of audio signalsEuropean Broadcasting Union
EBU R 128 recommends that the Programme Loudness Level shall be normalised to a Target Level of -23.0 LUFS.
- C2PA Specification 2.1Coalition for Content Provenance and Authenticity
A C2PA hard binding is a cryptographic hash that can match only the original asset and not assets derived from it or renditions produced from it, so re-encoding breaks it.